
Football/Soccer Session (Moderate): Defending - low block

Premier Users' Club
Morgan O'Hanrahan

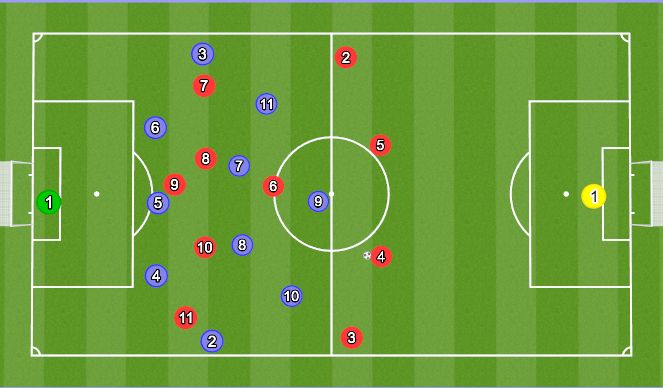
See the guidance at the top of this page to understand why you are not seeing interactive Football/Soccer images.

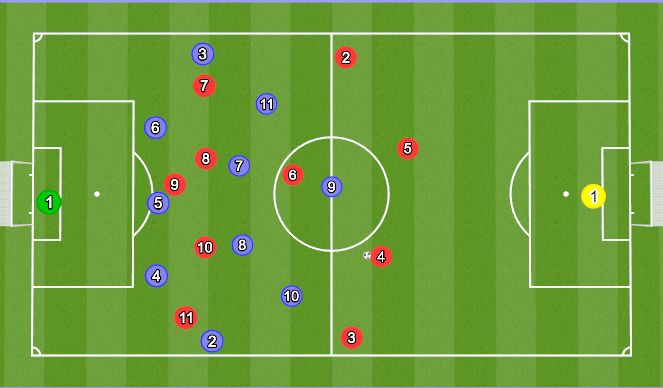
See the guidance at the top of this page to understand why you are not seeing interactive Football/Soccer images.
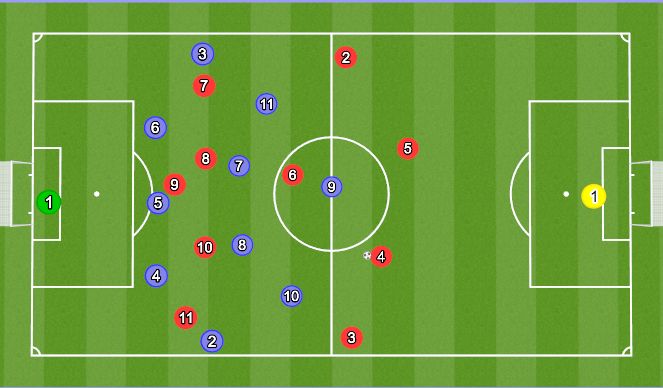
See the guidance at the top of this page to understand why you are not seeing interactive Football/Soccer images.
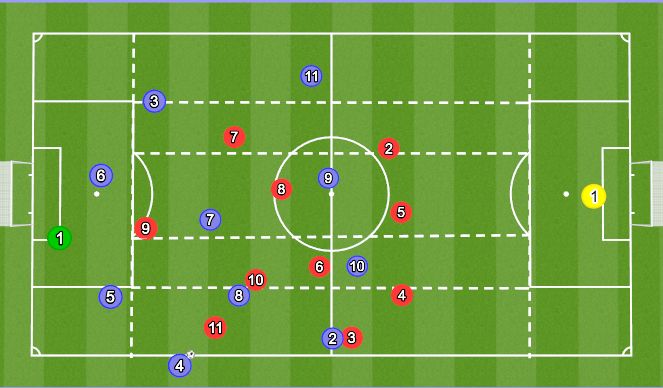
See the guidance at the top of this page to understand why you are not seeing interactive Football/Soccer images.
Throw-ins taken in our own half are taken by the outside Centre-backs.
Here the RCB #4 takes the throw with the wing-back #2 pushes up as shown.
It would be the same on the left with #6 taking the throw and #3 pushing up the field.
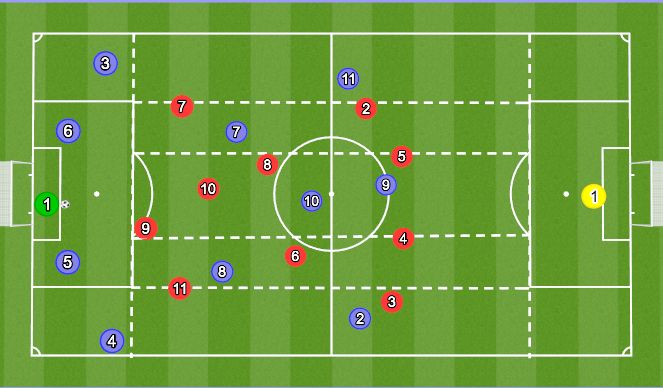
See the guidance at the top of this page to understand why you are not seeing interactive Football/Soccer images.
#2 pushes up to create a 1-4-2-3-1 in build up.
#4 fills in in the full-back position.
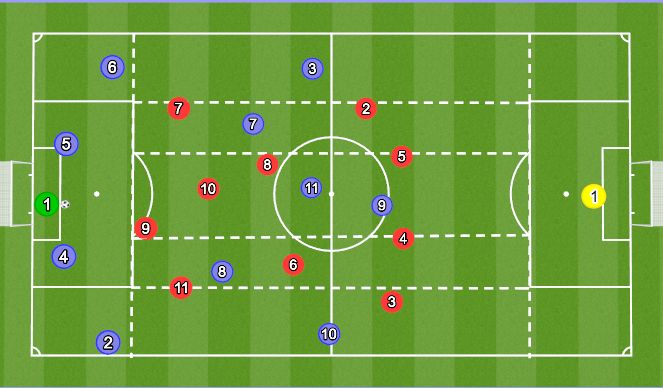
See the guidance at the top of this page to understand why you are not seeing interactive Football/Soccer images.
#3 pushes up to create a 1-4-2-3-1 in build up.
#6 fills in in the full-back position.
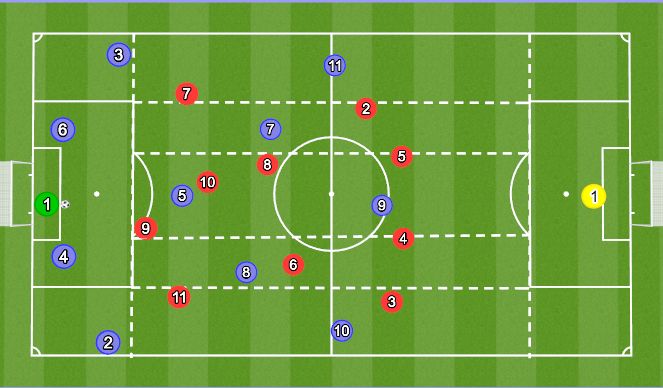
See the guidance at the top of this page to understand why you are not seeing interactive Football/Soccer images.
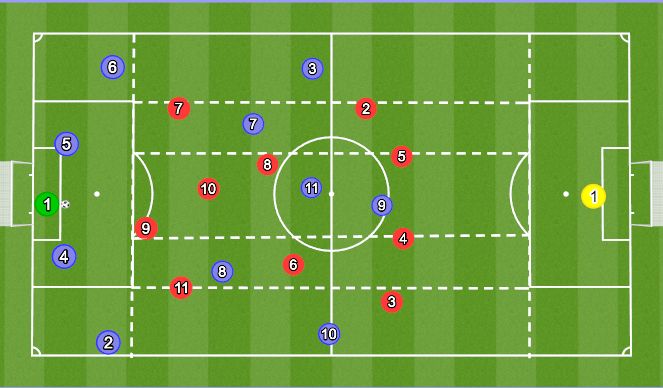
Here the Centre-Back #5 pushes up as #6 & #5 tuck into as the wing-backs also drop in to deeper starting positions.
The #10's (10/11) start wider.
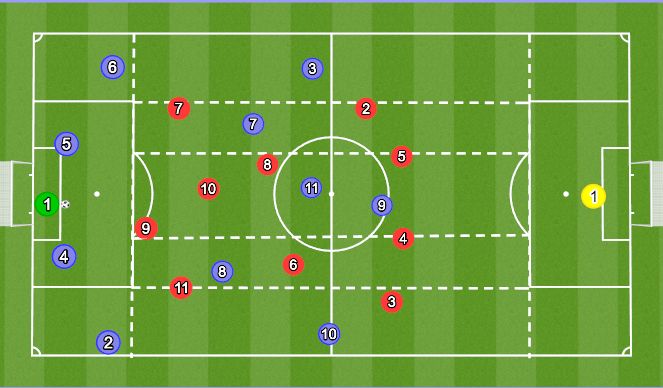
See the guidance at the top of this page to understand why you are not seeing interactive Football/Soccer images.
See the guidance at the top of this page to understand why you are not seeing interactive Football/Soccer images.

 Play animation
 Play step-by-step
 Repeat (toggle)
 Full Screen
 Pause
Pause Stop
Stop